
How To Clean An Oil Painting: Dos and Don’ts
Nov
Why do you think cleaning an oil painting is necessary?
Well, to answer this, I will say that it simply brings back the lost vibrancy and charm of the painting.
It even extends its shelf life, meaning you can stand in front of it and amusingly gaze at its details.
For an art lover, a painting is not just a painting but an investment in their passion, which inspires them in many ways.
There are many artists who are maestros and are aware of tips for creating oil paintings.
But then there are people in the same crowd who are unaware of cleaning and taking care of the oil paintings.
Many oil art owners seek professional aid and DIY methods to learn how to clean oil on canvas paintings.

However, some succeed in removing dirt, while others end up ruining their art due to a lack of knowledge and the wrong techniques.
If you’re one of those who are as clueless as a beginner, here’s an ultimate guide that teaches how to clean an oil painting at home!
And don’t worry, a step-by-step guide will lead you through this adventure of cleaning an oil painting.

Table of contents
- Important Signs That You Need To Clean Your Oil Paintings
- How to Clean an Oil Painting (Possible Challenges)
- How to Clean an Oil Painting by Your Own: Full-Proof Ways
- What To Never Use To Clean An Oil Painting
- When To Seek Professionals To Clean An Oil Painting
- How To Keep Your Oil Painting Away From Dirt In Advance
- FAQs
Important Signs That You Need To Clean Your Oil Paintings
There’s always a time for everything, and to understand when the right time is is a skill.
Now, you will wonder How would I know when was the right time to clean the oil artwork mounting on the wall for years?
Well, it doesn’t matter whether you have kept the art inside fire-proof transparent glass or any other environment.
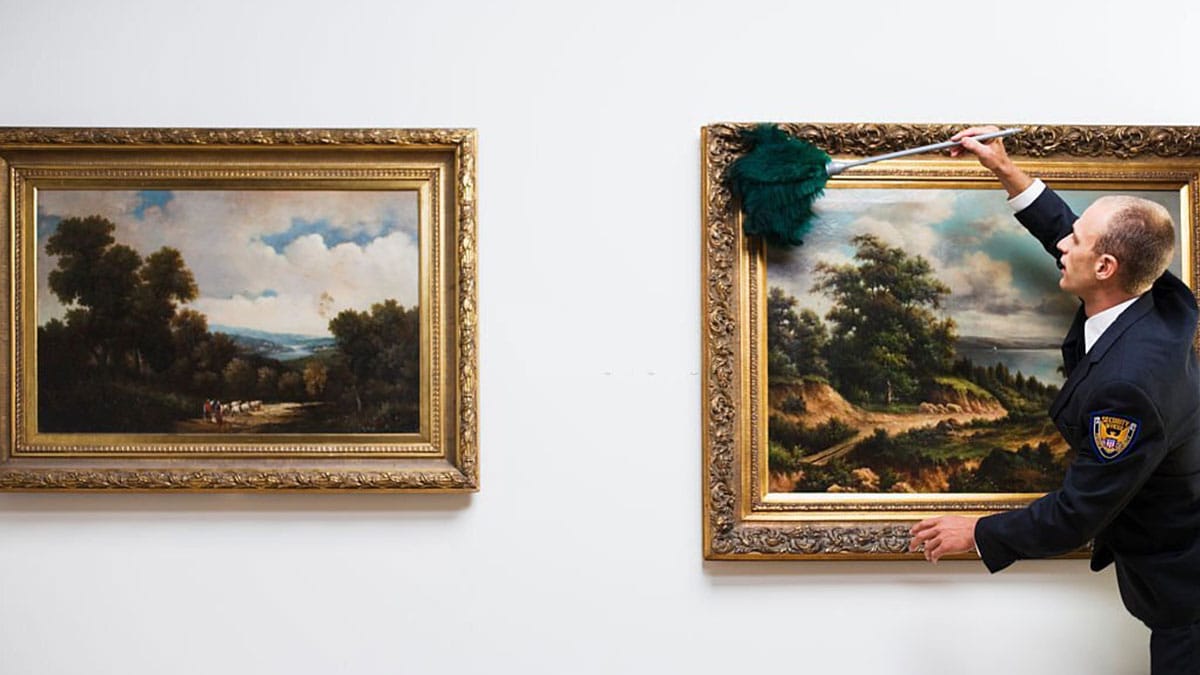
But if your art is mounted on the wall, laid against the shelf, or kept in the corner, then it’d certainly require some dusting.
Here are common signs that suggest you clean an oil painting now:
- Formation of several layers of grime
- Detection of mold
- Yellowed varnish
- Cracks and flaking
- Dullness
The occurrence of these signs is a result of aging or because of insufficient storage or inappropriate surroundings.
If you feel your art is stored under such conditions or shows these signs, then you must immediately act on it.
Suggested Read: Oil Painting Vs. Acrylic Painting
How to Clean an Oil Painting (Possible Challenges)
You can’t just pick up an old rag and dust off the dirt and expect that it will result in a clean and fresh oil painting.
When you start cleaning an oil painting, you will realize that it is far more than just a layer of dirt.
No matter what or how effective the painting techniques were, stepping on the first pedestal of cleaning is going to be a challenging ride.
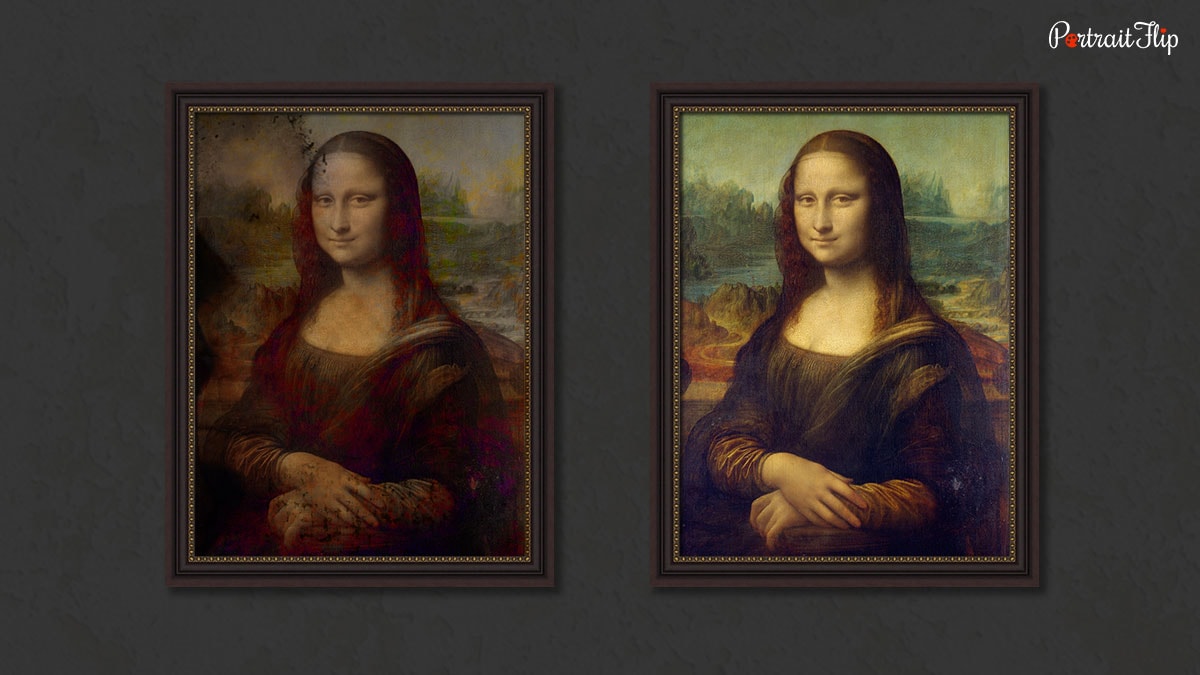
The biggest challenge you’ll ever come across is learning how to remove the yellowed varnish from the oil painting.
Varnish helps preserve the painting, but with time it yellows, making the appearance dull and uninteresting.
The next difficulty you’ll face is knowing the right oil painting cleaners to have your art’s dirt wiped out completely.
The wrong cleaners can result in the unintended removal of pigments.
So, let us now jump right into the ways you can play safe with the cleaning ways.
Also Read: Watercolor Painting Tips
How to Clean an Oil Painting by Your Own: Full-Proof Ways
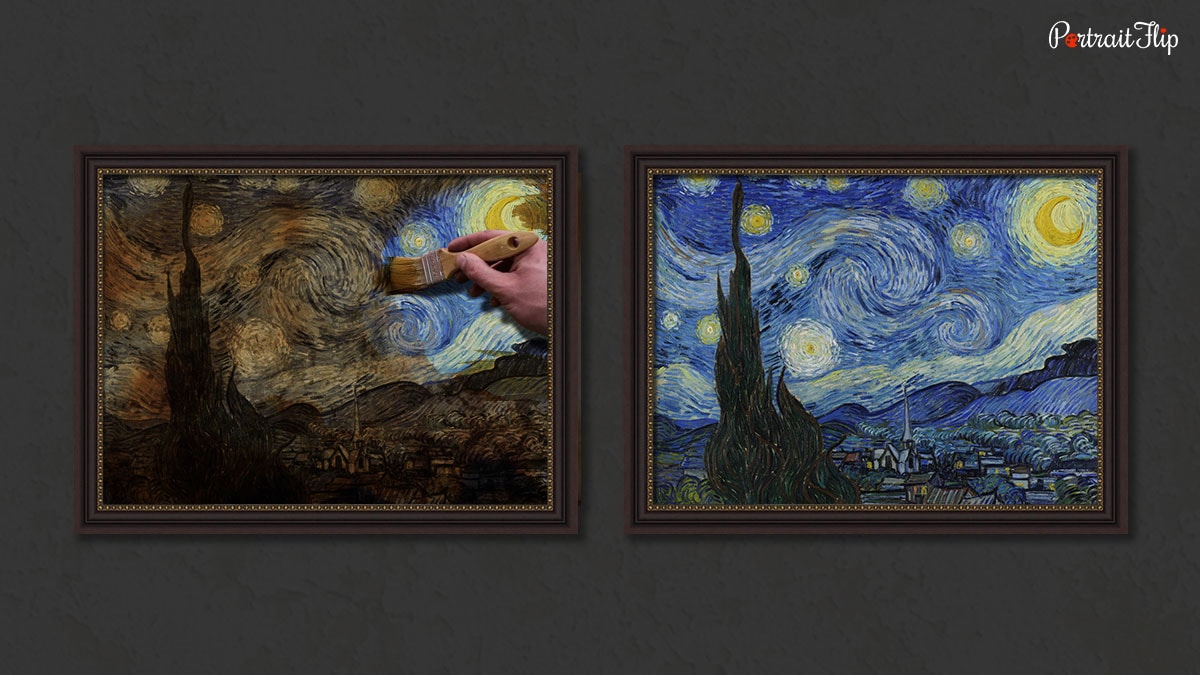
1. How to Clean an Oil Painting With Soft Bristle Brushes
Removing dust particles from oil paintings is mandatory, and that’s when this oil painting cleaning technique comes into the picture.
Using a soft bristle brush to wipe the dust off the canvas is the traditional and best way to clean an oil painting.
All you have to do is lay your oil artwork on a flat surface and grab a soft brush.
First things first, you need to keep your art in such a way that it receives enough light so that each of its minuscule details becomes visible.
The next step is to get a brush with soft bristles that won’t cut the paint off.
In order to remove the dust, it is recommended to use a medium or larger bristle brush.
(Suggested: Six Amazing Oil Painting Tips)
2. How To Clean an Oil Painting with Saliva
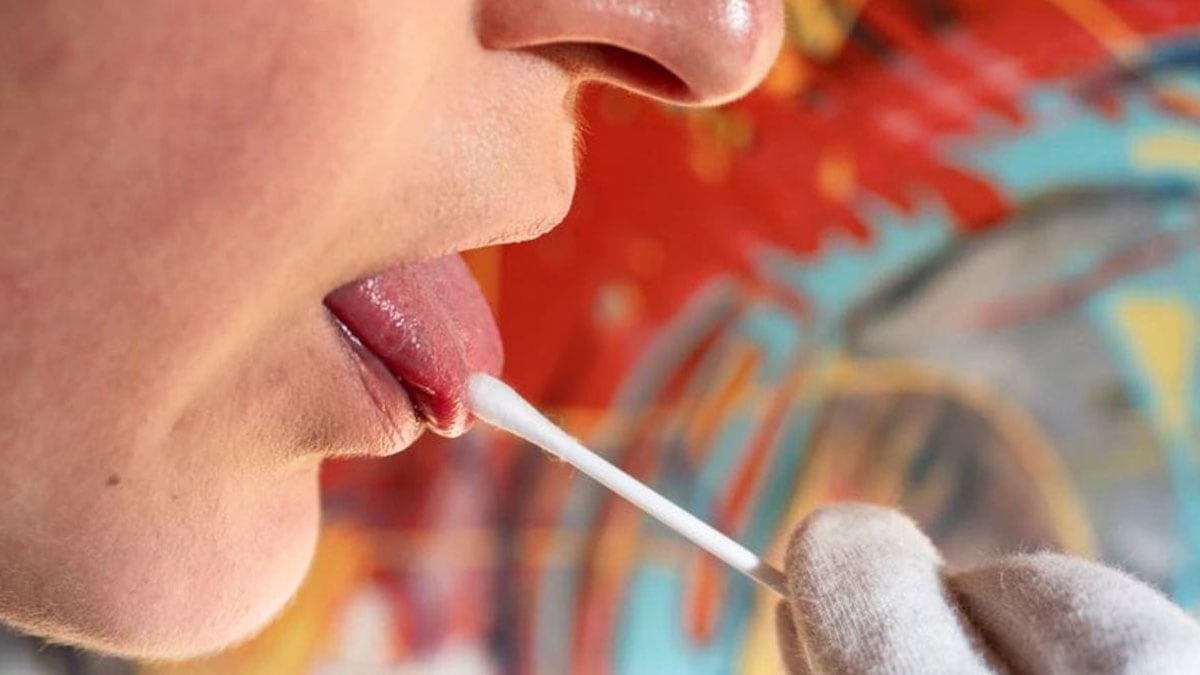
I know it sounds disgusting, but as it is said, trust the process; the same goes for it!
Saliva contains enzymes (α-amylase) which can act as cleaning agents, especially to remove dirt and grime, keeping the paint as it is.
It is one of the safest and best DIY oil painting cleaning methods.
All you need is a bunch of quality swabs with a soft tip.
Why? Because regular ones tend to bend easily.
Plus, their quality of cotton is even cheaper.
And it is suggested not to eat or drink anything before you use the saliva for cleaning an oil painting, as it lessens the effectiveness of the enzymes.
Although it’s a time consuming solution, it’s the most reliable way to clean an oil painting guide.
(Also Read: Acrylic Painting Tips For Beginners)
3. How to Clean an Oil Painting with Picture Cleaners

Cleaning your oil painting with picture cleaners demands time, effort, and concentration, as a silly error can lead to substantial damage.
Like the previous two techniques, you will have to lay your oil painting on the ground. Why?
This will allow you to see the oil painting while cleaning it.
Also, your painting will be protected from the dripping or spillage of picture cleaners throughout the process.
It is suggested that you create a soft and firm support underneath the canvas so that while applying the cleaners, it creates a strong grip and does not slide, damaging the canvas.
Pour the picture cleaner into a jar; it could be Winsor & Newton Artists’ Picture Cleaner.
Then dip the swab and dampen it until the edge turns liquid, though it shouldn’t be dripping.
Start rolling the swab across the canvas; do it slowly but firmly.
Repeat the process, but make sure you don’t overdo as much as it takes to take the dirt off the canvas.
(Read: Oil Painting Vs Acrylic Painting)
4. How To Clean a Yellowed Painting
The reason behind oil painting’s dull and faded appearance is the aging of the varnish applied to them.
The best way to remove varnish is by using solvents. Though it is risky as it can remove the dirt or create irreplaceable damage.
You need to be confident and knowledgeable enough to initiate this process, as the wrong product or incorrect use can jeopardize the work.
You must know what type of varnish has been used to pick up the solvents that you are going to use.
Because the wrong solvent can react negatively and abruptly smudge the paint.
These are the steps to remove varnish from an old oil painting
- Lay your painting down
- Create some support underneath the art
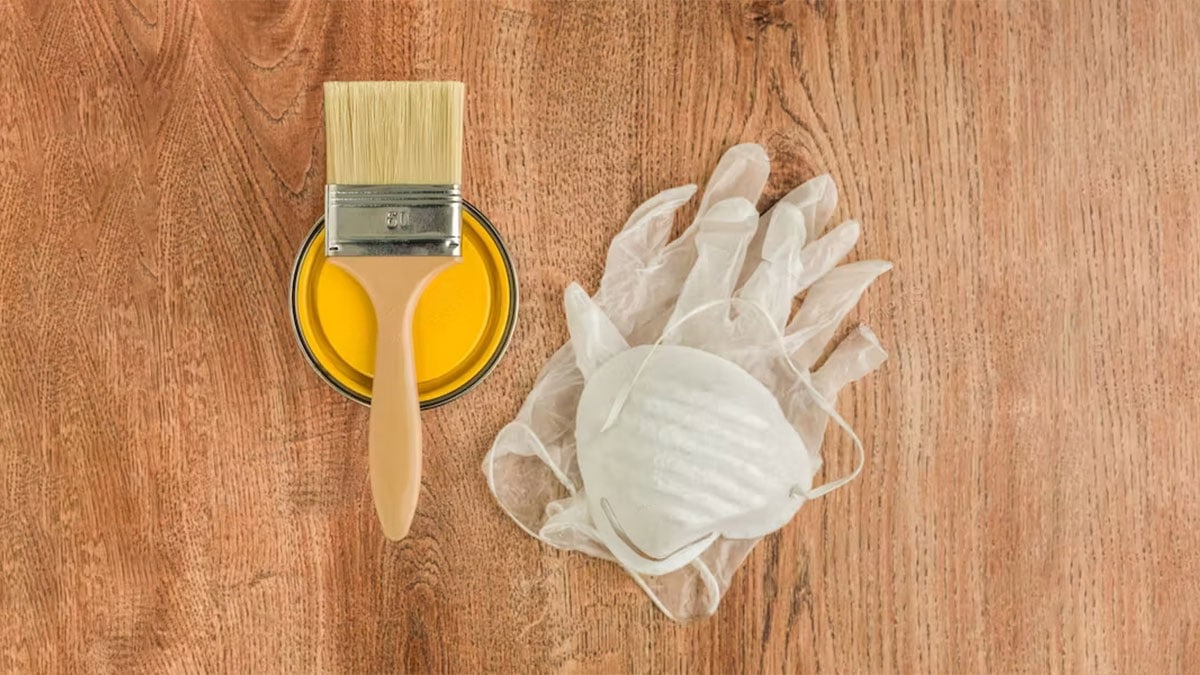
- Wear your surgical gloves
- Apply some solvents to a cotton pad
- Roll the swab across the painting
- Repeat the process until varnish comes out
- Add neutralizer to those areas where solvents are added more
Boom! It has been removed.
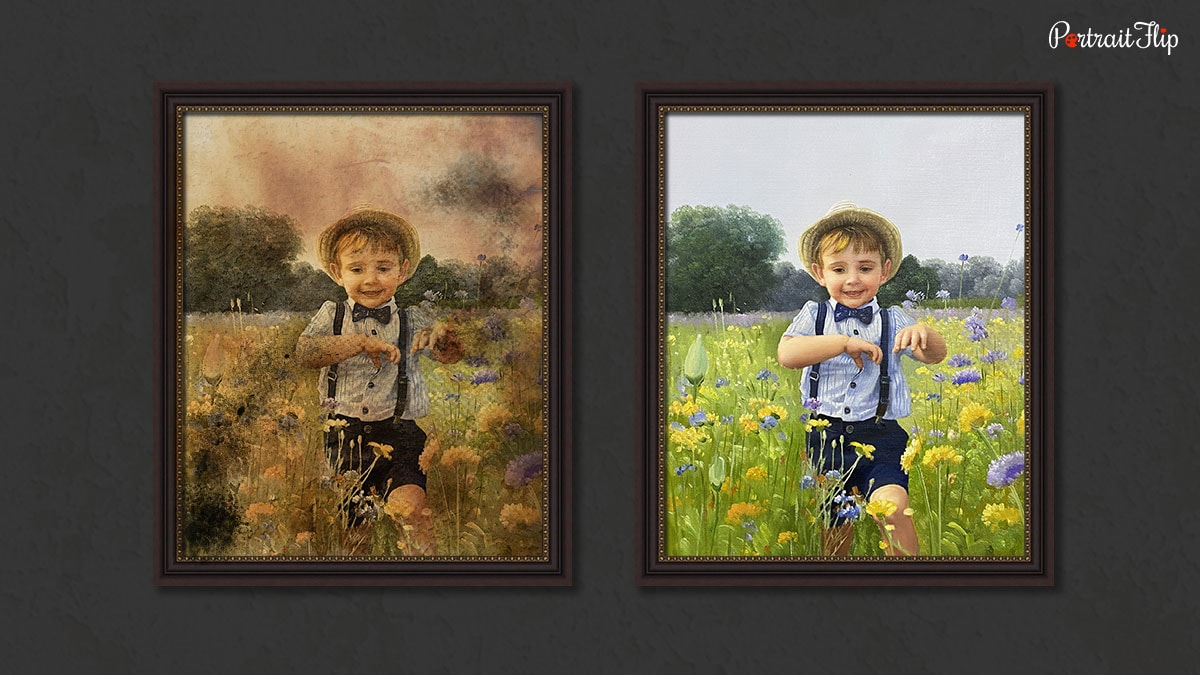
By following the above shared techniques, you can clean your oil paintings without breaking the bank.

These are tried and tested methods for how to clean an oil painting; most art owners and painters implement these techniques to remove the grime, dust, or yellowishness from the art
What To Never Use To Clean An Oil Painting
Paper Towels
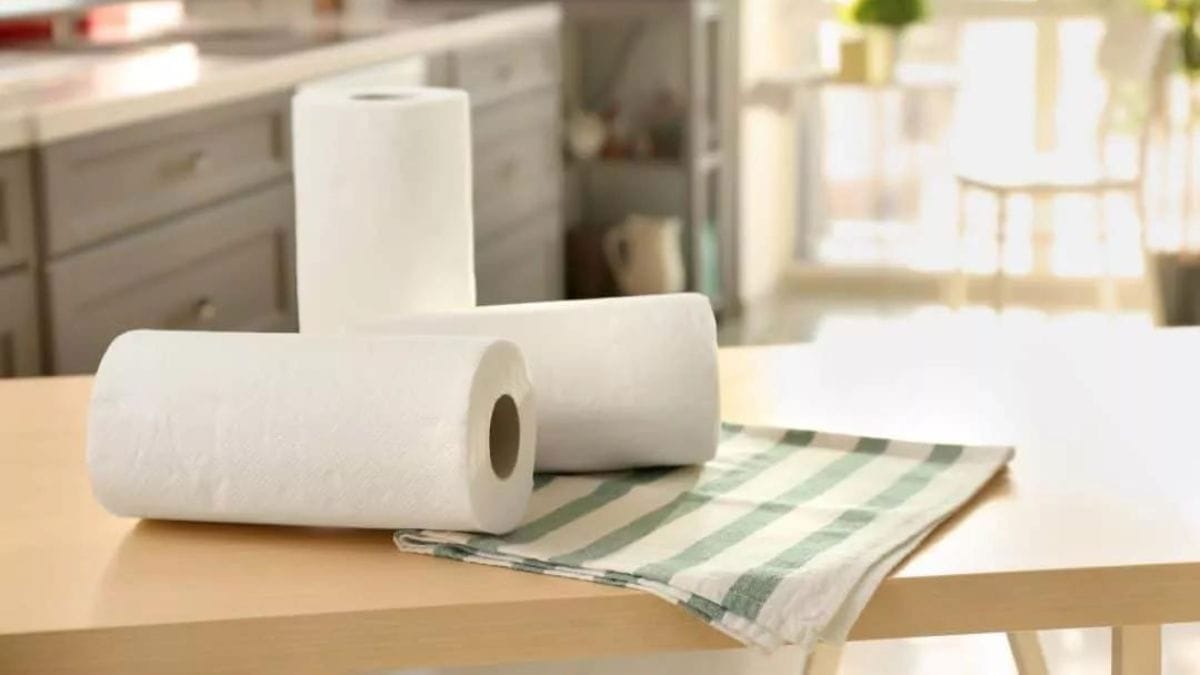
Sometimes it is not about intentions or techniques but about the product that you use to clean an oil painting.
They don’t work in your favor because they were never meant to act like that.
One such oil painting cleaning product, which was promoted oftentimes, was paper towels.
Paper towels tend to take a significant amount of paint off your canvas if not used properly.
The scenario can be different if you gently use it across the surface to catch the dust.
Oftentimes, it is used to take out dirt that has formed on the colored part, and in order to wipe it out, we press the paper towels harder against the surface.
Instead of picking up dust and dirt, it leaves its own pieces, forming grains on the surface of the oil painting.
This attempt rips off any textures and certainly pulls some of the paint away.
Feathers or Stiff Brushes
Feathers and stiff brushes are considered great products for oil painting dusting, but they have barbs, which can create an issue.
What if the barbs strike the painting, especially on those parts covered with dark hues?
The chances are very high that it may take some paint off because of its sharpness.
Only an unprofessional or novice can use them for dusting, as they don’t help in any way.
You can either pick up soft bristles, dusters with no features, or fluffy ones that can dust your oil paintings.
Water solution
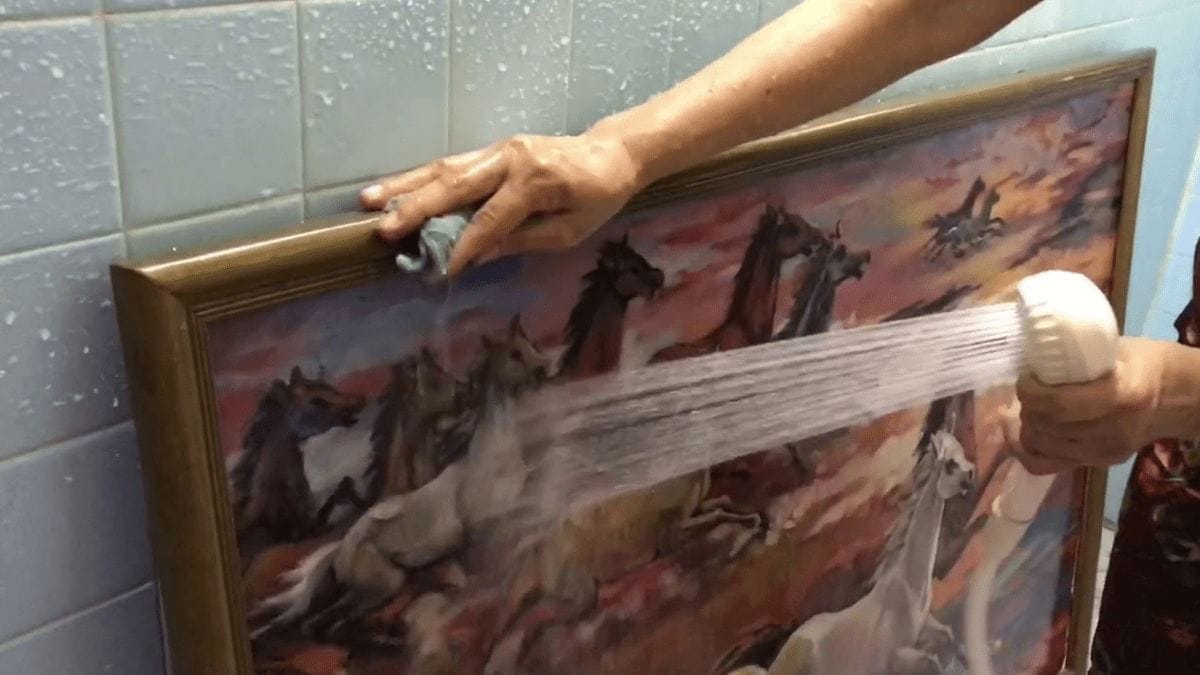
Water or any water based solution can’t be used for cleaning an oil painting.
It can negatively react to it, and its effect can be detrimental—you should avoid using it at any cost.
If used, it can reduce the intensity of colors and make the art lifeless.
If overused, it can seep from one part of the canvas to another and peel the color off.
Flake the pigments and perhaps lose their grip on the wooden canvas.
The common issue that can occur is that it can shrink and separate the color and create a wet section, spreading the color across the canvas.
Vinegar, Lemon Juice, Alcohol or Household Detergents
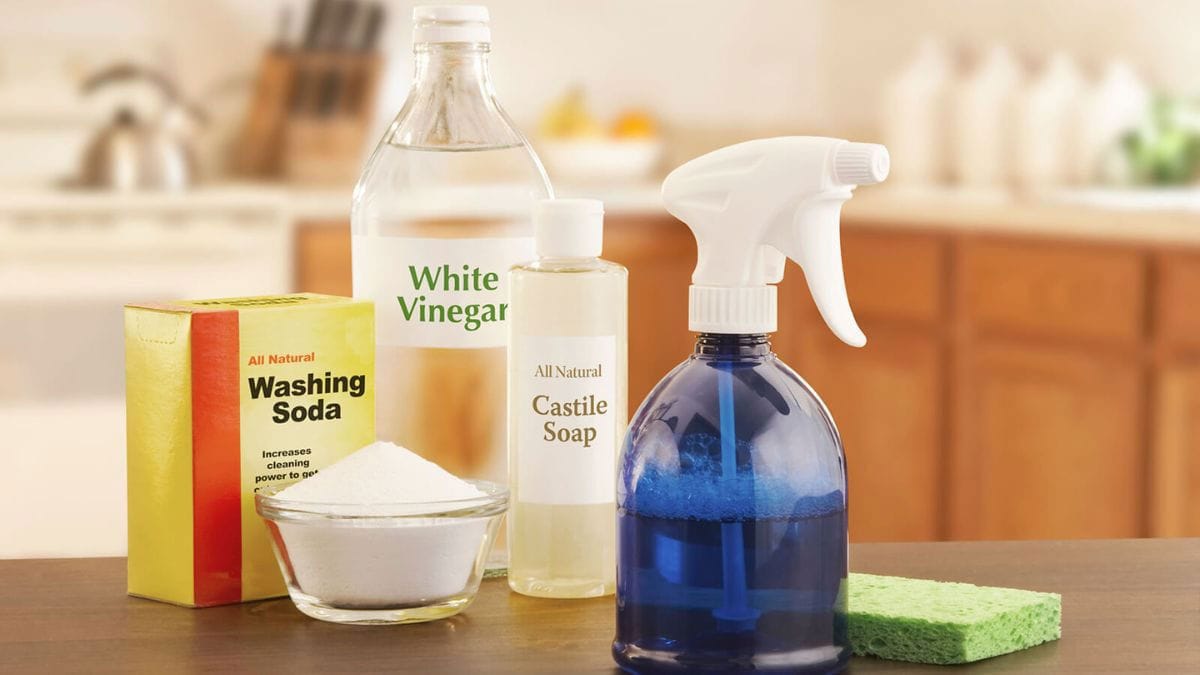
In most DIY oil painting cleaning projects, these products are commonly endorsed but, in reality, have drastic negative effects.
Pouring or rubbing some of these can smear the paint or peel the paint off.
These are acidic in nature, which has immediate effect on any color of oil pigment and professionals recommend because they are easily available at any home
You can instead use saliva, but avoid these cleaners.
Baby Oil
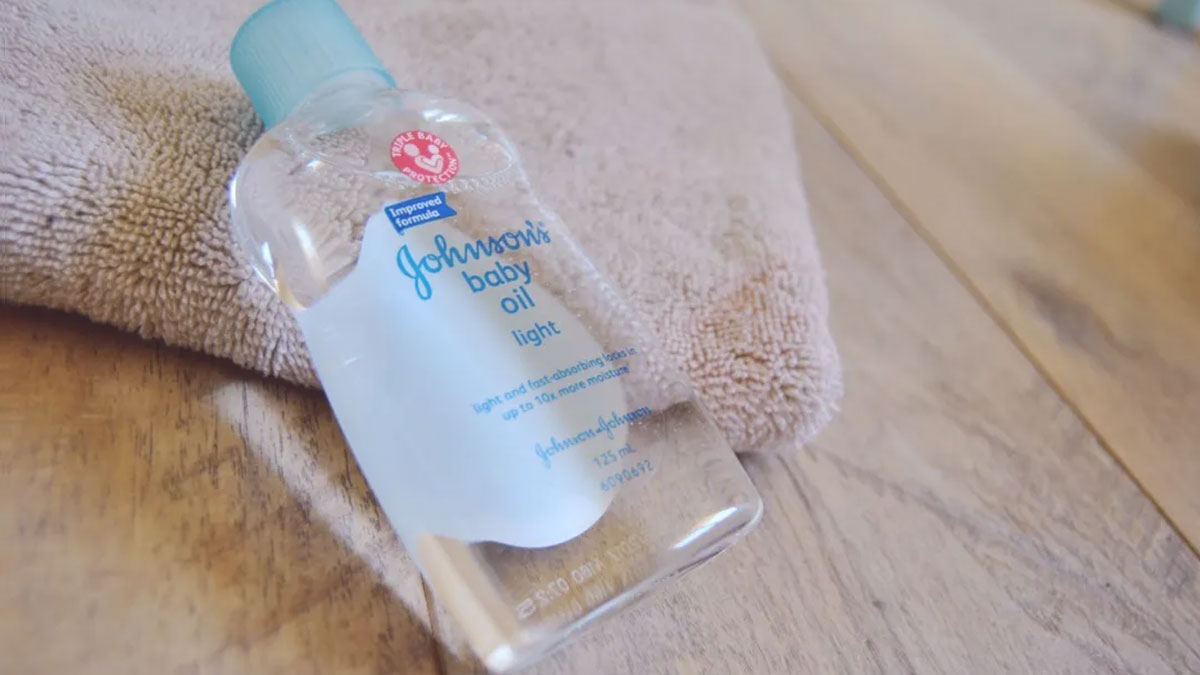
Baby oil can produce a sticky layer on the surface where it is applied.
It is seen as adding a shiny look, making the color look more vibrant and prominent.
It does make it look brighter and glossy, but as time goes on, it catches dirt and dust faster.
Baby oil is never used to get grime off the canvas; perhaps dust can be removed to some extent, but eventually it tends to catch more dust or airborne dirt.
Bread
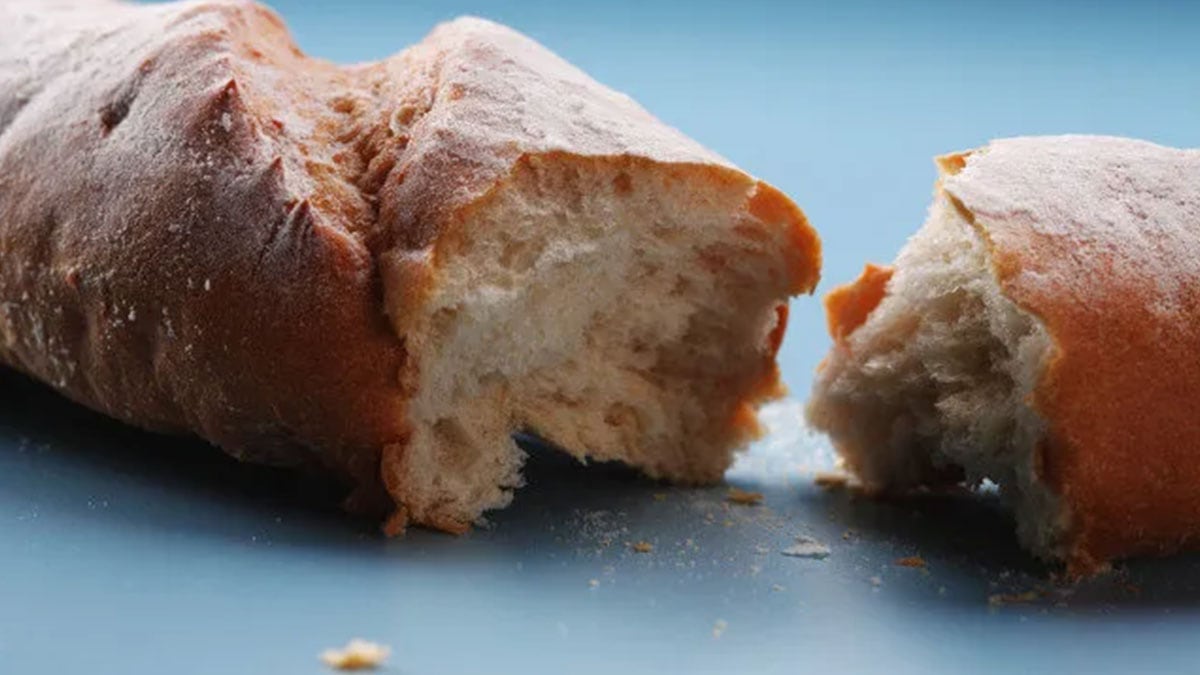
Breads is often used to dab on the surface with the intention of getting unwanted dust removed from the oil painting
Although some dust gets off, it leaves some minuscule pieces of itself.
This can also leave crumbs on the surface if not brushed off properly, and while reapplying the coating of varnish, it can create its own layers by mixing up with the existing pigments.
It results in the distortion of colors and textures and with time, it attracts airborne particles and contributes to mold growth
These are the products you need to avoid when cleaning an oil painting.
Suggested Read: Acrylic Painting Tips For Beginners
When To Seek Professionals To Clean An Oil Painting

It is suggested that you seek professionals or art restorers when in doubt.
You can’t start cleaning your oil painting right away.
You need to consider a few things and plan your approach.
Whether it is flaking, cracking, or has yellowed varnish, you can have it removed on your own.
As an art owner, you must ensure that whatever you plan does not go overboard, as a slight change or incorrect technique may cause irreparable damage.

It is suggested that you carry the right oil painting cleaners and follow the instructions carefully.
Here are some reasons that tell you that you need an art restoration specialist.
- Shows cracking
- Flaking and peeling off
- Forms an unnatural layer of dirt
- Excessive mold and stickiness
- Unsure about results
- Lack of time
- Lack of knowledge
How To Keep Your Oil Painting Away From Dirt In Advance
Many reasons contribute to the formation of grime, making an artwork look dull and shabby.
Whether you have cleaned your oil painting by following the above shared techniques or just mounted a new painting, here’s how you can keep your oil painting away from dirt in advance (Two Important Tips).
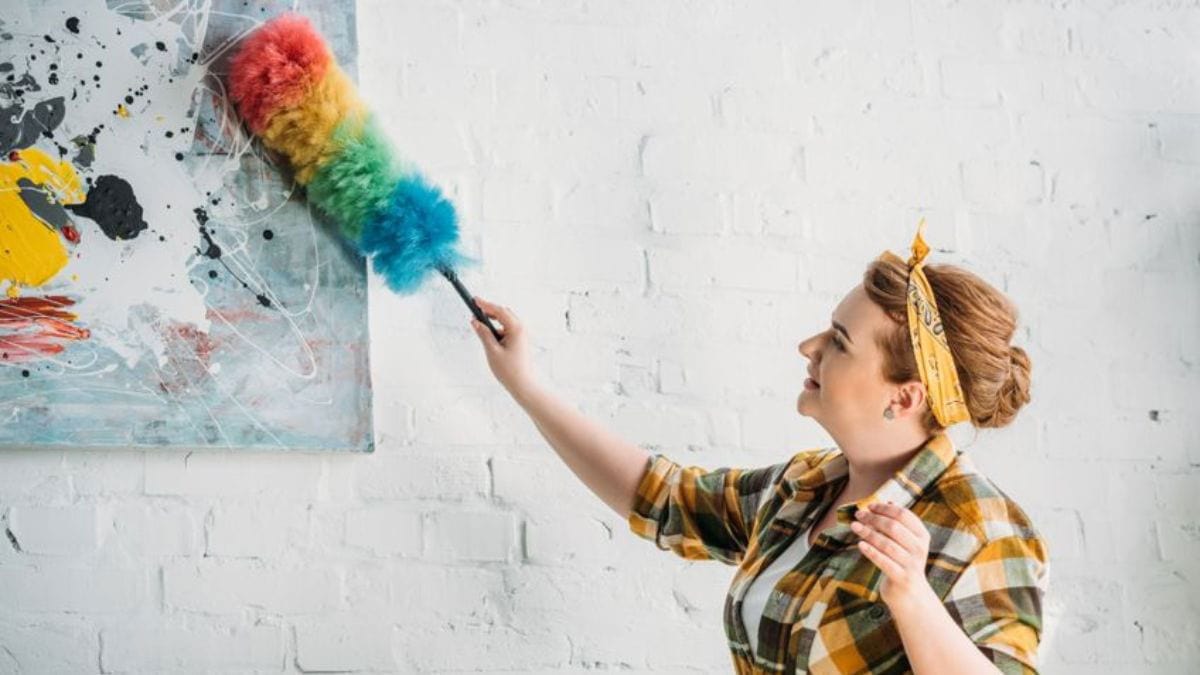
1. Routine Dusting
Routine dusting is a must and can also be useful if your oil art doesn’t have a stubborn sticky layer or unfixable dirt.
Dusting your painting can have a significant effect if done properly.
The bristles of the brush shouldn’t be sharp; they should be soft because barbs can cut some paint off and hamper its essence.
You can even start from the bottom or top, or perhaps tilt the painting upside down (towards you) and start brushing from left to right in a way that dusts it off in the air.
It is suggested that you sweep the canvas attentively and not indulge in an abrasive movement to alter it.
Once it is done, you can add a coat of varnish, which extends its shelf life.
2. Correct Placement
The location of the painting determines its future.
If it is mounted in a cramped place, it will catch up the dirt presently because of the corners, or if the space between two pieces of furniture is less, it’ll accumulate spiders and dust very early.
Also, the painting should be kept far away from direct sunlight or a source of moisture, as the rays can immediately affect the pigment.
It is recommended to keep it away from steam or smoke; it can yellow the art very soon.
Keep it away from open windows and air, as outside elements can cause the formation of the grime.
Mostly, it is kept in an open space where people can see it and rejoice in seeing it.
By following these techniques, you can keep any artwork—custom, pet, or family portrait—away from potential threats.
The Bottom Line
When you take up the job of cleaning your oil paintings, you learn several things.
For example, the nature of colors used in the art, different oil painting cleaners and techniques, and others.
Cleaning an oil painting on canvas is a painstaking process. But with each attempt, you get closer to mastering the art of cleaning oil paintings.
Whether you own a cat picture, a horse portrait, or a reproduction of famous art, you need to put it down on a flat surface and clean it promptly.
The above-shared process helps you remove dust, dirt, and all sorts of grime, keeping your art evergreen
FAQs
Yes, you can clean a canvas painting at home. All you need to do is gather the supplies, choose a canvas painting cleaning technique and start working.
To clean the dust off the oil painting, you have to use the dry brushing technique. In this technique, you slowly brush off the dust from the painting using a soft brush.
No, you should avoid using water or water solutions to clean an oil painting. Water can change the size of the fabric and remove the paint if the painting is old.
The best way to clean an oil painting is to dampen it with saliva and roll it across the art.
The only way to clean a painting without the risk of damaging it is to take the painting to an art conservator or restorer.
Old oil paintings are easily vulnerable to damage and so you shouldn’t attempt to clean an old painting at home. Old paintings can have cracks, warps, discoloration, or flaking paints. So the best way of cleaning an old oil painting is to take it to an art restorer.
No, you can’t use it as it will put the art at risk. It will cause molds to grow on the painting that will damage the entire art.
Take a cotton bud and damp it with your saliva. Now, cautiously swap the surface of the painting. Start with smaller sections and move until you’ve covered the whole painting. Keep changing the cotton buds after they become dirty. (For a detailed guide, scroll up to the section: Cleaning with saliva.)
A small oil painting that needs average restoration work can cost $800- $1000. For a larger painting, the cost can go from $10,000 to $15,000 if there’s a lot of restoration work involved.
Although we have suggested that there are ways you can clean your oil painting at home, you have to be very careful as cleaning an oil painting is difficult.
It is safe to say that you can use rubbing alcohol to clear some spots in your painting, but it is risky as it can actually just rip the paint off completely.
The hairline cracks on an oil painting are a result of its aging, which is called ‘craquelure‘.
Pingback: Christmas Gifts For Grandpa
Pingback: Pet Portraits: Factors To Consider Before Buying | Best Services & Etsy Artists.
Oh this is very important to take care of handmade oil painting right! Thanks for all your tips!
I’m glad that you found the blog useful 🙂
Pingback: 70+ Ideas For Bedroom Wall Decor You Need (2023 Updated)
I was about to use the soapy water technique until I read your article. I have dry brushed it and figures are showing that I couldn’t see previously. However, there are stains that may never come off and I certainly cannot afford professional cleaning. However, I have been glad to do what I have accomplished. Thank you for your advice.
Hello Barbara,
I’m glad that you didn’t use soap water.
Cleaning an oil painting can be a task! If you’re not confident about cleaning it at home, we advise you to take it to the experts!
The oil painting I want to clean was painted on a piece of flexible metal, not on canvas. Would this open the door for more stringent methods of cleaning other than saliva?
Pingback: Gift A Painting And Win Their Heart! 12 Reasons To Gift A Portrait
Pingback: Oil Painting Vs Acrylic Painting: The Differences And Which Medium Is Best For You
Thanks for explaining how oil paint is one of the most versatile mediums. My friend recently obtained an old oil painting from a thrift store, and it looks a little worn out. I’ll tell my friend to find an art restoration service that can restore his versatile oil painting.
How to products such as Winsor & Newton Artists’ Oil Picture Cleaner compare to the “saliva” method?