
Become A Maestro With These 6 Oil Painting Tips
Jul
Table of contents
Are you interested in painting with oils but find the intricacy of oil painting intimidating?
These oil painting tips will help you start your journey with confidence.
From afar when we see oil painting, we see the works of great masters and the complexities in them.
Oil painting has been around for centuries, allowing it to develop various mediums that give it its complex nature.
Then we come a little closer and see the rules, the dos, and don’ts, and techniques that make oil painting a little more daunting.
Oils aren’t all as scary as they pretend to be, they are often more forgiving than they are credited for.
And right before we decide to go for it, we see a never-ending list of materials that oil painting requires.

But in reality, we may not need most of it, just a few basic things that will help us get started, just like in every other medium.
This can all be very discouraging, which makes oil painting seem unapproachable.
But it doesn’t have to be. Not with us helping you.
With these tips for oil painting, we will go over the essentials that will make the beginning of your journey a little less overwhelming and allow you to begin with sureness.
And of course, with some time and practice, you will be able to master this century-old art with finesse.
Let’s start with getting you familiarized with the basics of oil painting.
1. Oil Painting Basics
Before you start painting in oils, know that even masters had to start somewhere and make mistakes to understand this medium.
So, don’t expect utter realness from your first few paintings as you will still be getting used to the qualities of oil paint and learning to control them.
Especially, the slow drying time and the rules of layering.
Before you set yourself out to experiment with oils, you must learn about the essentials.
These oil painting tips will help you better understand how to start and where to be.
- A. Organize Your Space
Your painting space should be well-lit (preferably natural light) and well-ventilated.
Make sure to keep towels, tissues, or old rags handy before you start painting and cover your floor with newspapers, old bedsheets, etc, to keep paint off the floor as it is not very easy to get them off, especially from fabric.
Similarly, you must be careful in disposing of your rags and storing your oil paints and solvents.
- Know Your Supplies
Typically, you will want a selection of good-quality brushes, rags, primers, a surface to paint on, turpentine (or alternatives), a medium, and a few tubes of paint.
When working with oils, easels can be helpful as they can be a safe place to dry your canvas and it also makes working long hours comfortable.
While palettes can help you mix colors and create new shades.
- Start With A Small Painting
I know that you are excited to go big with this, but you should start small and get a hang of it first.
You still haven’t had the chance to find what you like, what you do well, and what needs work.
Additionally, I would suggest that you try and paint a fixed subject over and over again.
You will be able to focus your attention on using the techniques of oil painting, instead of deciding what goes into your painting.
- Outline Your Painting
After choosing and preparing your surface you are ready to start with putting colors.
But before that, you need to make a sketch of your artwork, not a very detailed but rough sketch of the dominant shapes, lines, and focal point of your painting.
This sketch will act as a guide and foundation for your painting.
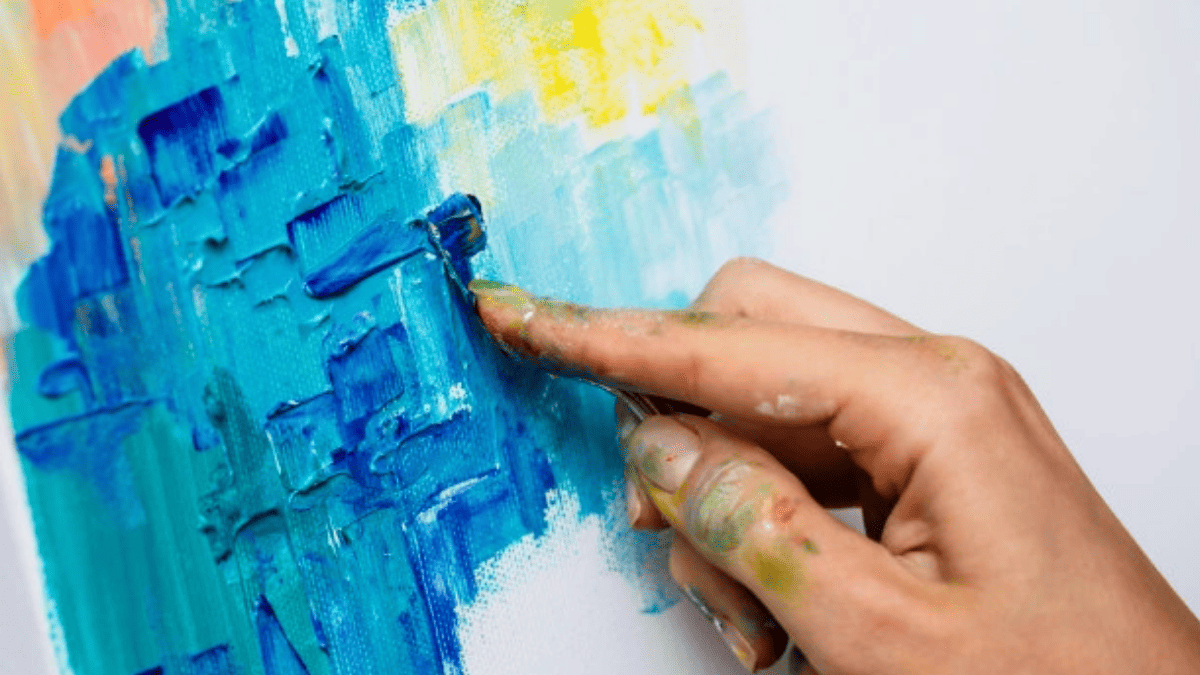
- Holding The Paintbrush
There are different ways of holding an oil paintbrush which is used for different effects.
Instead of holding the brush close to the brush hair, and gripping it halfway down the length, try holding your brush at the end of the ferrule.
If you are a beginner, I would suggest that you practice holding your brush handle as far back as possible.
This will give you more control and allow you to make sensitive and flexible strokes.
- Use a Limited Painting Palette And Learn To Mix Colors
Using a limited color palette will allow you to get a better hand at knowing how oil paints behave.
This will also give you some practice making your own colors.
Knowing how to mix oil paintings is very important. I would suggest that you start with mixing with only two colors and white.
Remember not to over-mix.
- Don’t Forget The Palette Knife
A palette knife is an important tool, don’t just use it as a tool to mix colors.
A palette knife can also be used to create interesting textures and unpredictable strokes that cannot be replicated by a brush.
- Invest in Your Brushes and Keep Them Clean
Get professional-grade brushes if you can, not only will they last longer but also make a visible improvement in your skills.
Cleaning your oil paintbrushes after every painting session is an excellent habit to fall in.
When cared for, oil painting brushes will last a long time.
Use paper towels or rags to clean your brush, next use the solvent of your choice, and lastly run your brush under warm water and give a last rinse with mild dish soap.
2. Know Your Supplies
Whether you are new to painting or trying out a new medium, oil painting can be equally challenging and rewarding.
If you are a painter and looking to try something new, then oil painting is a great place to put the use of your skills and take on new challenges.
For someone new to painting, oils are a great place to be although, this may not be the most popular opinion, however, that shouldn’t stop you from pursuing it.
Oil has benefits that outshine all other mediums and we are here to help you harness them.
And what better way to understand a medium than knowing its tools?
The following list does not include rags, an easel, a brush bucket, and water.
You don’t need a glass palette or an entire collection of brushes or neon oil paints to get started.
The key is to start with the basics and see how it works out.
These oil painting tips will allow you to get your resources according to your development style and save you from making unnecessary purchases that you might never use.
I personally love bright and shiny jewel-like colors but prefer painting in monochrome.
So, what I’m trying to say is get what you need, not what you want.
Here are some oil painting tips on the supplies that are necessary to start your journey.
- Your Oil Painting Surface
You can use oil to paint on various mediums, given that they are primed well.
However, the canvas is the go-to choice for many artists and what we’d recommend if you are just starting out.
When it comes to canvas for oil painting, there are two options available; cotton and linen canvases.
Cotton canvases are inexpensive and stretch quite well. They are often the choice of students and beginners.
Whereas linen is superior to cotton in terms of quality and durability. It is preferred by professionals and costs more than cotton canvases.
- Oil Paints
Each brand has its unique texture, some oil paints will be buttery and easy to spread while others will have a slight grain to them.
Don’t buy the colors you like, start with the basics – red, yellow, blue, and white.
And get a bigger tube of white since you will be needing it the most to mix.
- Brushes For Oil Paint
Choose a small selection of a couple of bristle brushes and some synthetic soft ones.
Prefer flat brushes over filbert or round types until you are farther along with your oil painting practice.
But remember to choose good quality brushes as they will go a long way and give you better and more visible results.
- Palette Knife
A palette knife for oil painting is best used for mixing colors. It helps the colors to mix evenly.
Palette knives are also used to structurally apply paint that gives your artwork a unique texture.
- Oil Paint Palette
When it comes to your palette, you can use almost anything.
Although the usual choice for laying out your oil paints and mixing the colors is either a white palette, a traditional brown wooden palette, a glass palette, or a pad of disposable vegetable parchment sheets.
You can also use cardboard if your painting sessions are fairly short, but not for long, as it can soak up the oil in your paint.
- Oil Paint Solvents
Oil paints can be used by themselves, but you can alter their sheen, transparency, thickness/fluidity by adding different mediums.
Those mediums include a blend of solvents with oil or alkyd resin, and some with beeswax or varnish added.
Commonly linseed oil, Turpentine, or Terpenoid are used as oil paint thinners.
- Cleaning Oil Painting Brushes
For cleaning oil paint brushes while painting you need to use a solvent such as odorless mineral spirits or linseed oil.
Along with it, you will need to use the proper disposal method while using linseed oil or turpentine.
And to clean your brushes after painting you can use oil soaps or cleaner to clean your brushes.
If you’re still wondering how you can clean your oil painting, look no further here is a complete guide on cleaning an oil painting.
I hope these oil painting tips help you to better understand what you really need to start painting in oil.
3. Rules Of Oil Painting
When you’re painting with oils, you work in layers.
It is essential that you understand how each layer of color interacts with every other layer and how that affects your finished look.
Here are a few oil painting tips that will help you better understand the basic do’s and don’ts of this medium.
These are the common mistakes that people make when they are starting in oils, so make sure you read carefully to avoid them.
Oil painting tips to help you avoid mistakes that can ruin your artwork.
- Fat Over Lean
It means you should use thinner paint and less oil in the initial layers and fatter layers towards the end.
However, the fat does not particularly refer to the thickness of the paint but rather the amount of the oil. Paint with more oil (fat) over paint with less oil (lean).
Because if your outer layer dries faster than your inner layer it will cause your paint to crack.
- Thick Over Thin
This oil painting tip has the same reasoning as the above rule. You will want to apply thick layers over thin to avoid cracking your paint.
In practice, I always start with thin paint that has been mixed with some odorless solvents and then continue painting with paint straight out of the tube.
- Slow Drying Over Fast Drying
The colors of the paint can influence the drying time, so it is best to use fast-drying colors continuously as under layers.
When you paint fast-drying colors over slow-drying colors what happens is that while your lower layer is in the process of drying, it pulls and twists which causes top layers that have already tried to crack.
- Paint From Dark To Light
While painting in oils remember you go from dark to light.
Because when you want your darks to be dark and transparent, adding white to them will make them look cloudy and smear your dark.
And lastly, remember these oil painting rules can be broken but key it to know when.
These oil painting tips will help you be a better painter in the long run.
Suggested read: Famous paintings by Claude Monet
4. Oil Painting Techniques For Beginners
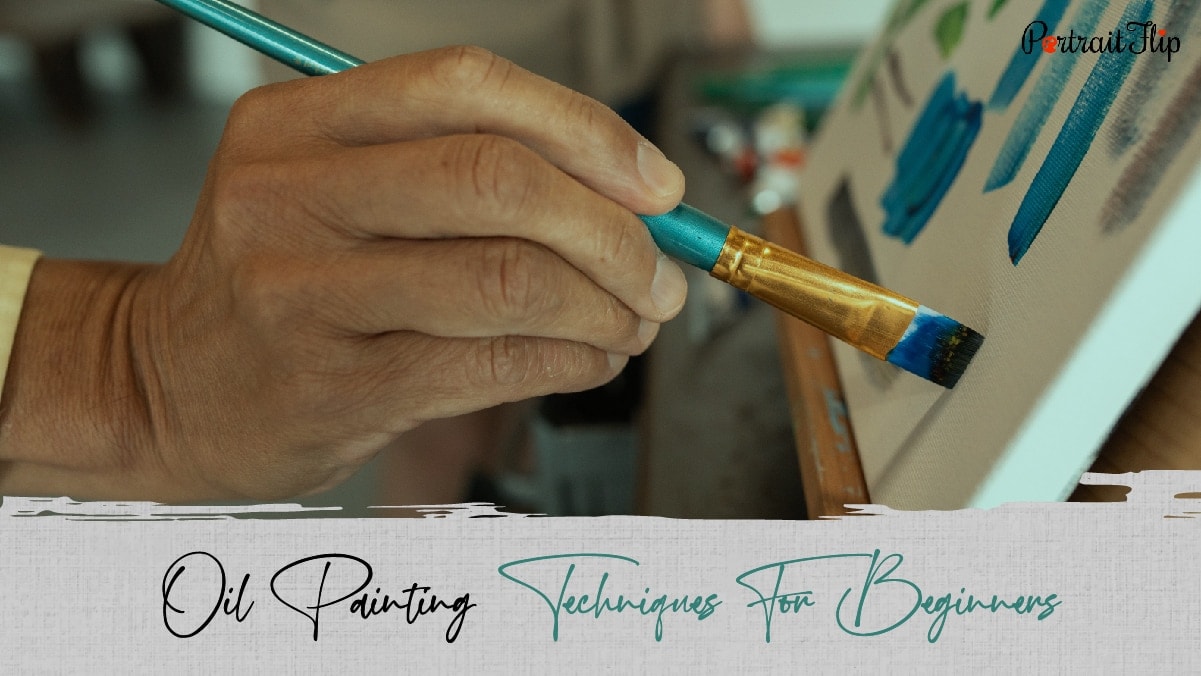
From Da Vinci to Van Gogh, oil painting has been the hallmark of the Old Masters.
Oil paints give the flexibility and depth of color that other mediums lack.
The slow drying time of oils allows artists to manipulate the medium over a stretched period.
Today, oil paints are preferred by many artists because they are versatile, archival, and economical.
While oils do require a little more care than other mediums but don’t let that turn you off.
Oil paints also give you more with their rich pigment tones and lustrous finish that is not easily achieved with other mediums.
Oils are applied in various ways, from thin glazes diluted with thinners to dense thick impasto.
Here we have a few oil painting techniques for beginners that will help you get started.
You don’t need all of these oil painting tips, but it’s good to be aware of them and have a basic understanding of them should you ever wish to integrate them into your artwork at some point.
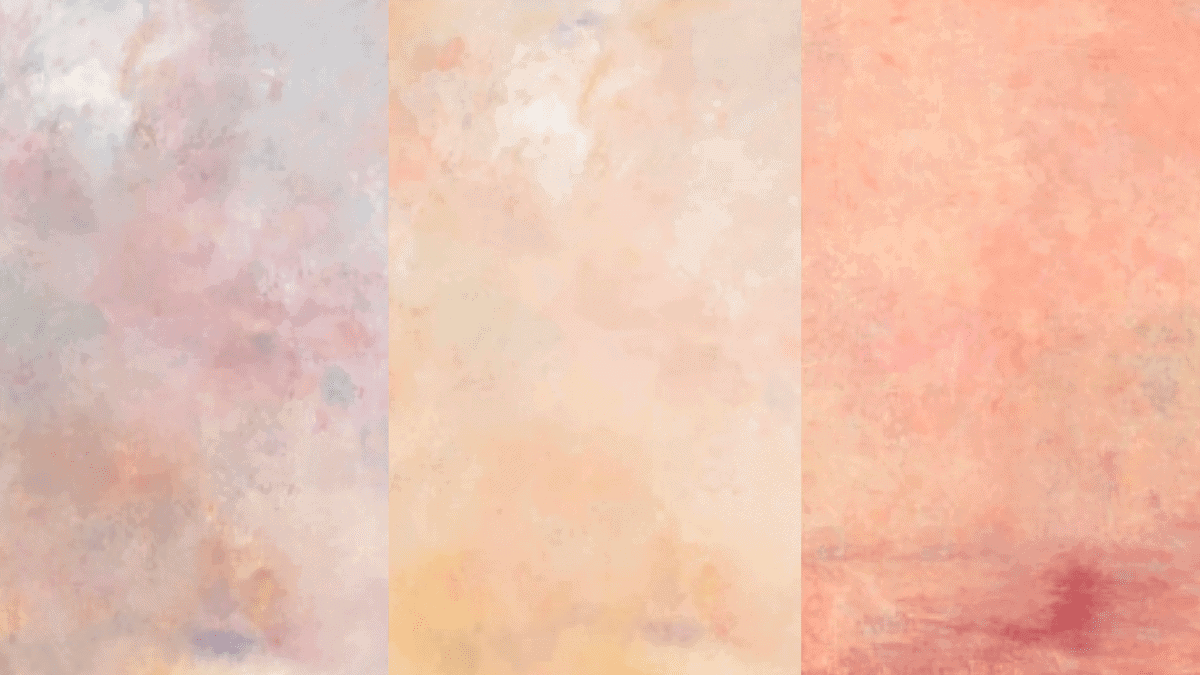
- Underpainting – The Base Layer
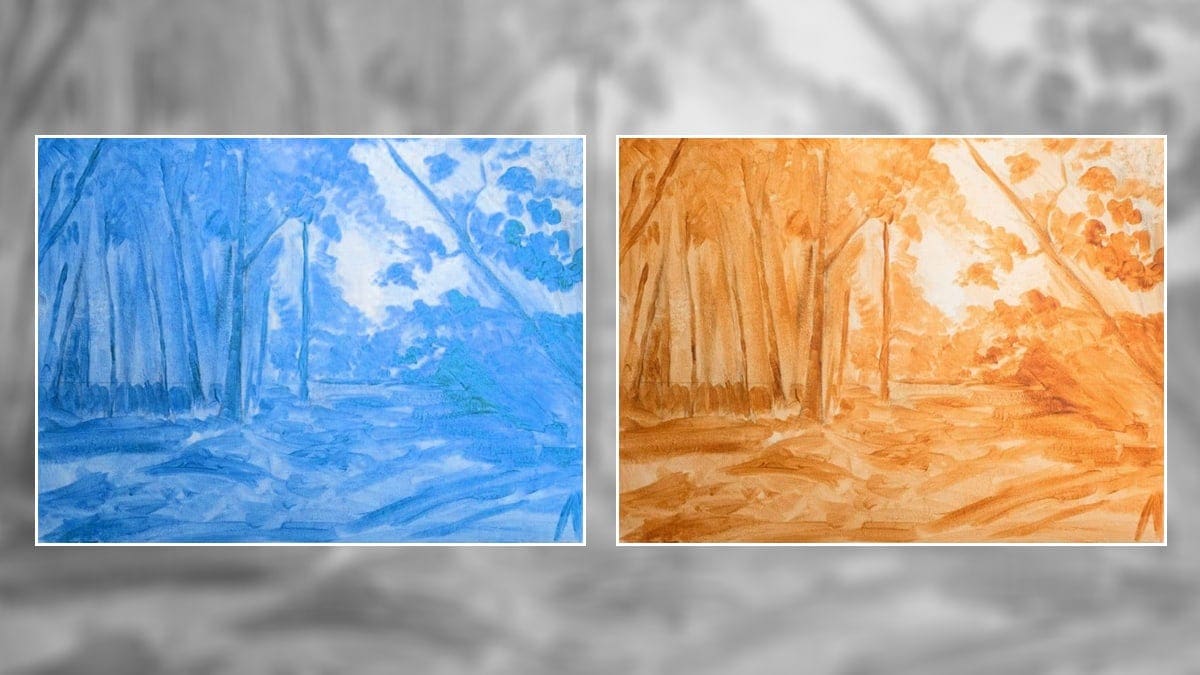
Underpainting is a method of laying down your first layers of paint in a neutral tone which functions as a base layer for your painting.
It acts as the foundation of your artwork which helps you to build contrast and tonal values.
E.g., A blue undertone can give your painting a cold feel, similarly, a yellow-toned underpainting will give a warm tone to your painting.
- Blocking-In
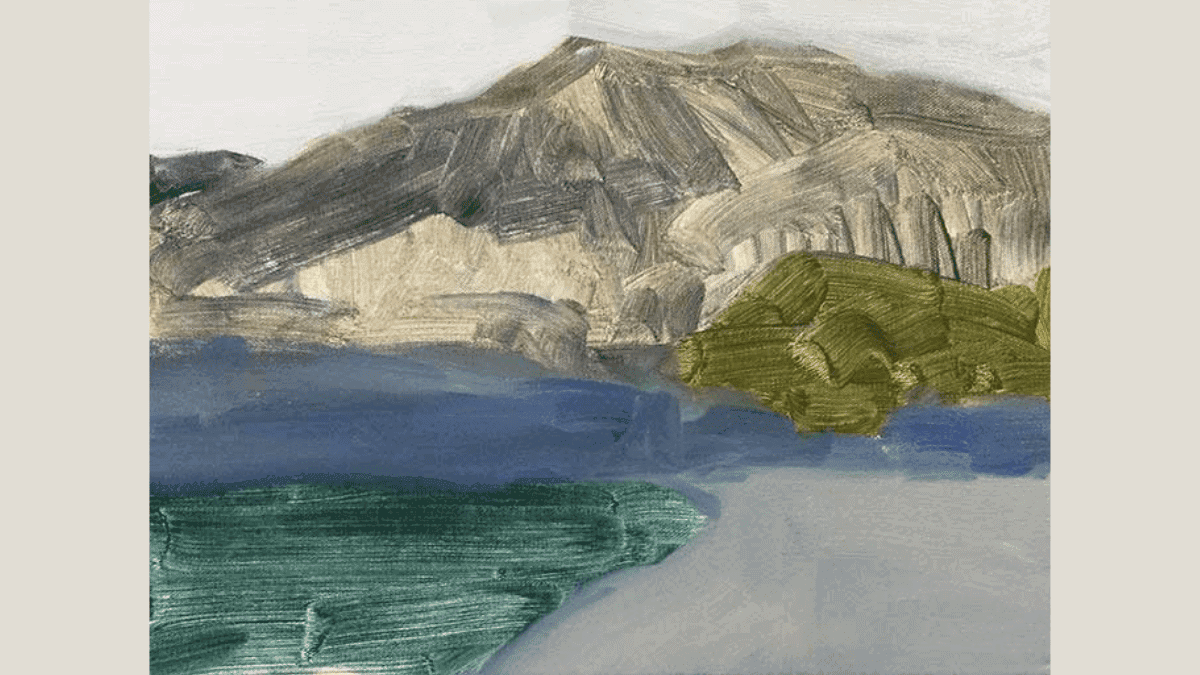
With this oil painting technique, you can roughly add the base hues to your artwork without worrying about refining the details.
To get the best results, apply thinned-out oil paint for a smooth and even spread.
As a beginner be sure of using neutral colors because it will be hard to neutralize or paint over vibrant colors.
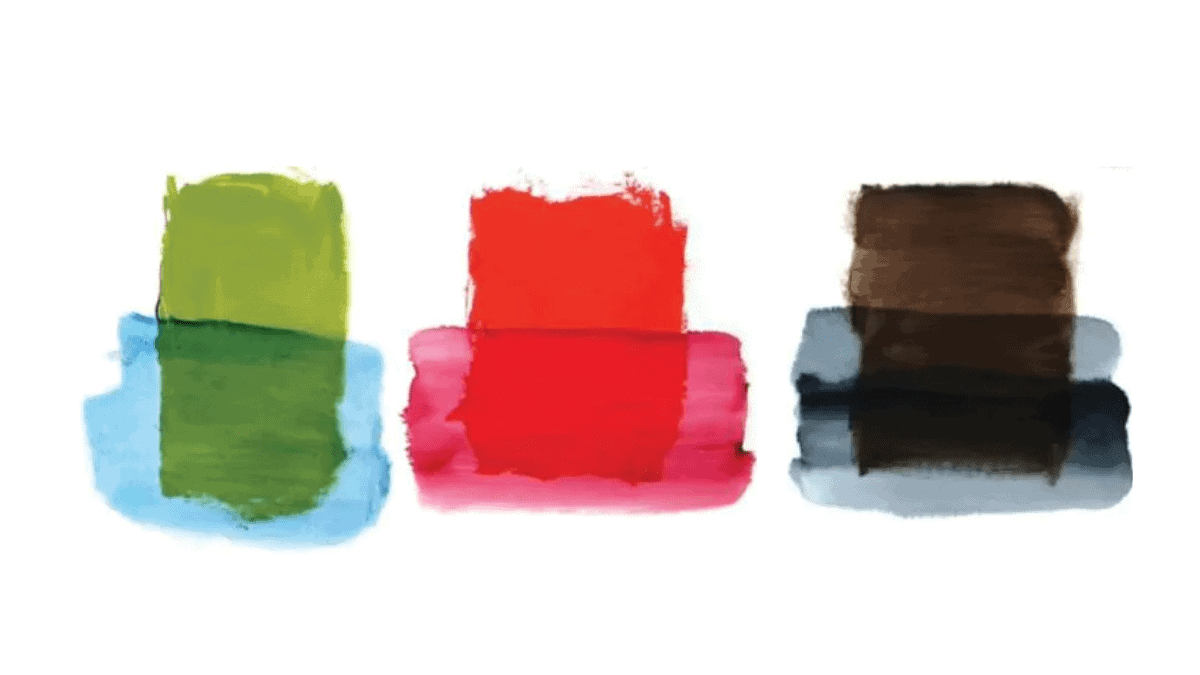
- Blending
Belding is an oil painting technique where you mix two colors that are adjacent to your canvas so that there is a smooth transition between them.
This effect is given when the transition between the colors is not supposed to be an abrupt line.
Blending is only possible when the paint is wet, and the biggest advantage of working with oils is that they stay wet for a long time.
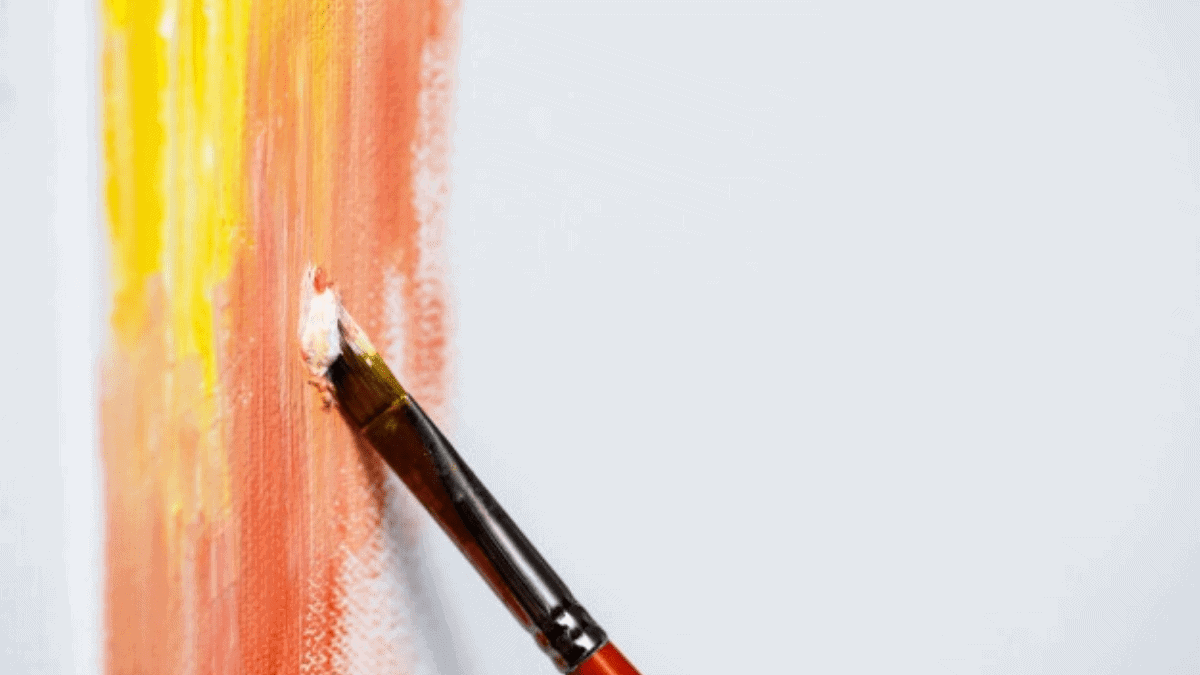
- Glazing
Glazing is a technique in which you paint thin transparent or semi-transparent layers of paint over thicker, opaque layers that have been let to dry.
This is usually done with a wide, soft-bristle brush and it can also be done with color pigments.
The process is time-consuming but the effect that is produced is stunning because the initial layers of color influence the most visible layer.
- Alla Prima ( Wet-on-Wet)
Also known as wet-on-wet, as the name suggests, you continue to paint on wet paint.
Traditionally, you would wait for each layer to dry before you start painting on it, which is a very time-consuming process as oil painting takes a long time to dry.
Alla prima became the preferred way to paint for many artists as this technique allowed them to finish their projects much faster than the traditional way.
- Scumbling
Scumbling refers to a technique where you use a dry-stiff brush with little paint to bring texture to your painting.
This method gives an added transition of tones, enhancing the blend of pigments.
This technique is ideal to lighten up dark areas by giving them a fuzzy appearance.
- Chiaroscuro
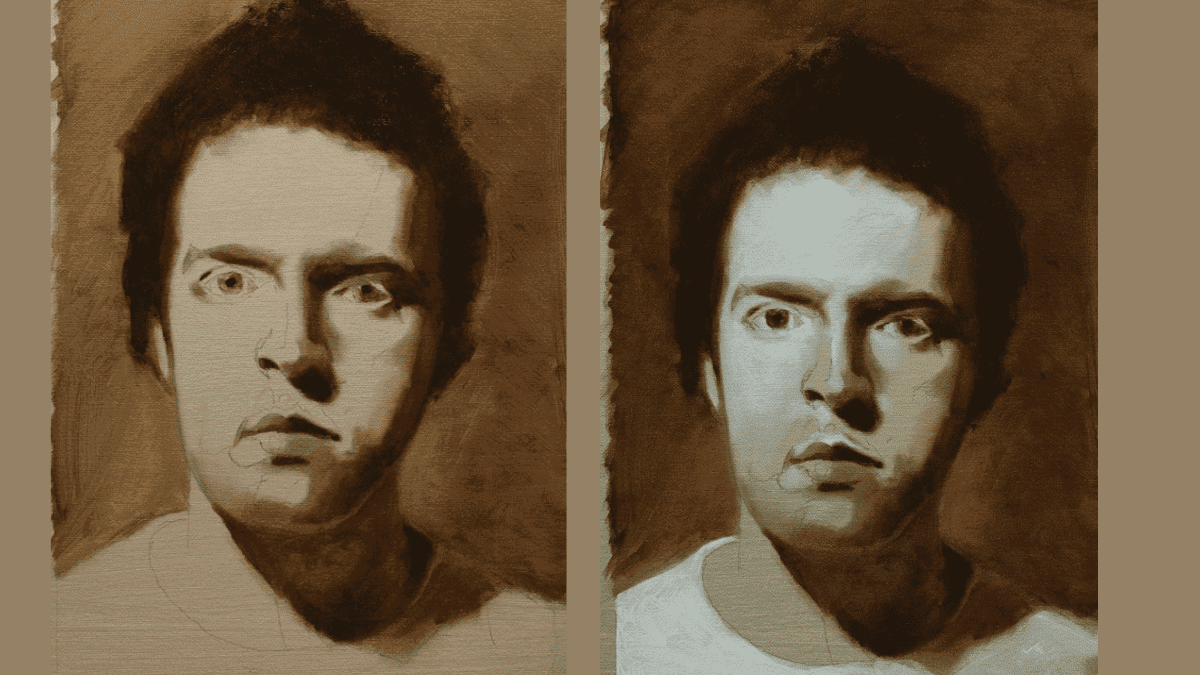
An Italian word means light-dark, as the name suggests this technique is best for bringing both dark and light tones.
In this technique, the tones give a more vivid and dramatic shade using the contrast of shadow and highlight.
This oil painting tip is used to bring depth to an artwork.
5. Know Your Colors
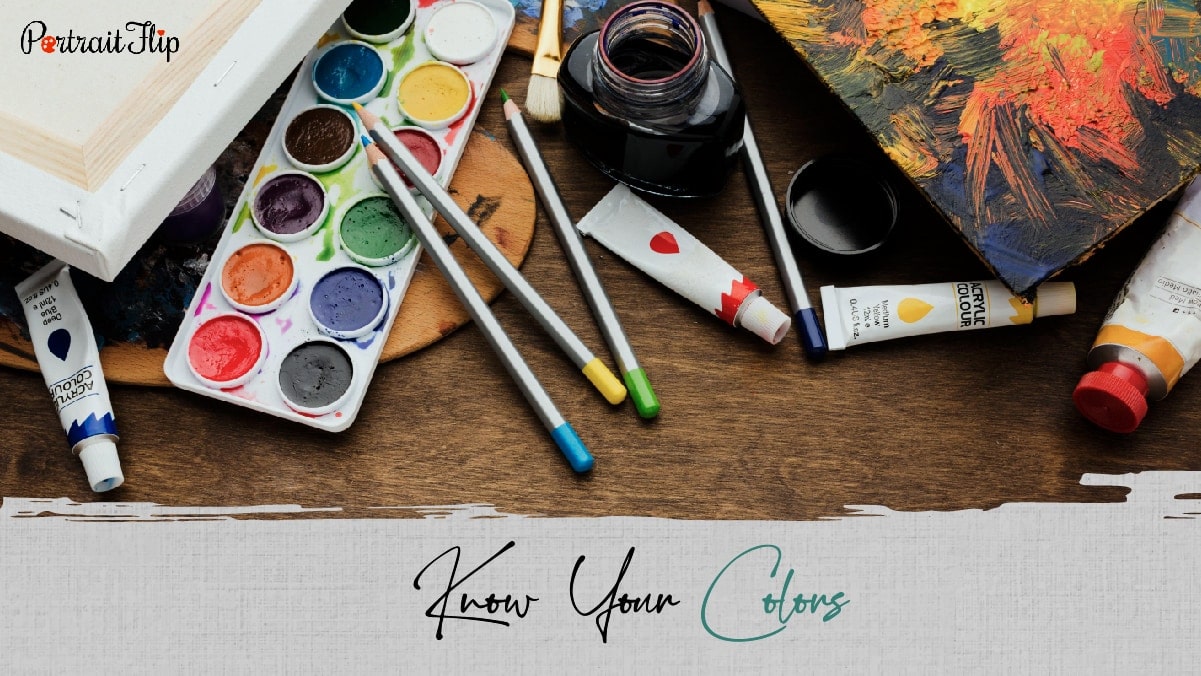
These tips for oil painting will help you have a better understanding of your colors and their drying time.
This is not something you need to stress about but something you should be aware of.
| Fastest Drying (2 Day) | Medium Drying (5 Days) | Slow – Drying (Above 5 Days) |
|---|---|---|
| Burnt Umber | Winsor Blues and Greens | Cadmium Hues |
| Raw Umber | Burnt Sienna | Permanent Rose (Quinacridone) |
| Cobalt Blue | Cobalt Violet | Alizarin Crimson Hue |
| Burnt Sienna | Cobalt Green | |
| Permanent Mauve | Ultramarine Blue | |
| Prussian Blue | Sap Green | |
| Raw Sienna | Permanent Alizarin | |
| Flake White | Crimson | |
| Ochres | ||
| Cadmiums | ||
| Titanium White | ||
| Zinc White | ||
| Lamp Black | ||
| Ivory Black | ||
| Mars Black | ||
| Pyrroles | ||
| Perylenes | ||
| Bismuth Yellow |
Factors that influence the drying time of oil paint
- The temperature
- The amount of light
- How thick each layer of paint is
- How much and which medium was used
- The quality of the paint
- The color of the paint
- The brand of paint
How to dry oil paint faster?
Try painting on an even surface, cracks and gaps can cause the paint to build up which will take a longer time to dry.
Start your artwork with fast-drying paints. (Refer to the list above)
Keep your painting in a room with good air circulation or with a fan, that way amply of oxygen can reach your painting.
Ensure that the room isn’t too humid and use a dehumidifier if you have one.
Make sure that the room is warm, why? High temperatures allow faster oxidation reactions.
These oil painting tips will help you dry your painting fast and safely.
6. Oil Painting Tips For Everyone
These painting tips will help you have a healthy journey and become a better painter.
- Do Not Make Simple Matters Complex
Simplicity has its charm!
If you can paint a building or the ocean with a single stroke of your brush, do that.
Do not make simple matters complex.
- Paint for Yourself
Do not let the opinions of other people influence how you paint.
Paint how you want to paint and let people make up their opinions afterward.
Do not try to please everyone. That is an impossible task.
- If Something Adds No Value, Cut It out or Simplify It
Do not add details for the sake of adding details.
If something does not help you communicate what you want to say, cut it out or simplify it.
- Try to Create a Beautiful Painting, Not Beautiful Parts
Try viewing your artwork as a whole and do it, everyone, for a while by stepping back and observing your painting.
Your painting should look beautiful from afar.
Suggested: Oil Painting Vs Acrylic Painting
- Rules Can Be Broken, but Have a Reason for Doing So
Rules are meant to work as a guideline or a framework. There are no hard and fast rules in art.
And the thing that feels limiting should be discarded, even rules.
Always feel free to break any of the art rules, but have a reason for doing so.
You must remember these rules, especially for those who are struggling to develop their style.
Don’t try to force a style instead try painting with principles.
End Note
Oil painting is a medium that lets you do whatever you want from hyper-realistic portraits to wild landscapes, but the only catch is that you should know how to do it.
But if you are just someone who likes oil paintings and isn’t sure about pursuing them, don’t worry with PortraitFlip you can get any photo painted in oil by professionals.
So don’t just stop at a photo turn it into an everlasting memory with PortraitFlip!
Suggested read: Tips on Water Color Paintings.
That’s all folks!
I hope these tips for oil painting helped clear your doubts and encouraged you to pursue oil painting.
If you are someone who is already on his/her painting journey, let us know how it is going, and leave a few helpful oil painting tips for our beginners in the comment section. If you want to paint with acrylics, you can check our blog: acrylic painting tips for beginners.
FYI, if oil painting isn’t what gets you going, you can give acrylic or watercolor painting a try too.
You can also follow us on Instagram and subscribe to our YouTube channel.
If you like this article, do share it further.
And if you have reached here, thank you!
Happy painting!!
Frequently Asked Questions
As a professional artist we always suggest oil medium because it is long-lasting and gives your painting an extra spark!
Both the color mediums have their own pros and cons but if you are a beginner who is willing to start their art journey then we will suggest that go ahead with watercolor and then shift swiftly towards oil paint.
The best way to start an oil painting is to know your supplies and to create a base which can absorb and hold the color as it is.
Pingback: How To Clean An Oil Painting: A Comprehensive Guide (+Dos And Don’ts)
Pingback: Acrylic Painting Tips For Beginners: 8 Tips To Paint Like A Pro